In order to use more active learning in the classroom, I use a lot of curriculum card sorts and games. It can take a little bit of time to cut out these activities and so it’s important to have some kind of strategy to organize card sorts so that the time investment is worth it. After all, you only want to do the prep work once for a classroom set and then be able to use them over and over for years.
Here are some of my tricks for organizing this stuff and the materials I use for activities such as:
- Math Activities: Exponent Block Game
- Material Sciences: The Iron Age and Properties of Iron
- Marketing – Promotion: Communication Channels
Printing Card Sorts
I like to print card sorts and games on good quality card stock using an old-school black and white LaserJet printer. I have been using the same HP LaserJet printer for 15 years now (an HP LaserJet P2055dn). For a new printer, I recommend a really basic model that just prints in black and white. The more features you add to your printer, the more likely it will break down over something that you don’t even use. I end up using this printer to print a lot of classroom materials at home and I only have to buy toner once or twice a year. The closest model I can find to the one I have been using is the HP LaserJet Pro 3001dw.

I print all of the cards for sorts and games on 90-lb card stock so that I can use these over and over in class. If you print the activities on paper instead, it is very difficult for the students to pick up the pieces and they are frequently bent or lost during class.
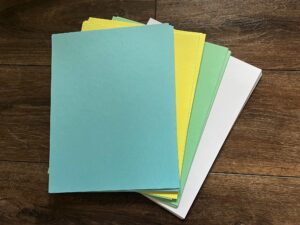
I recommend just buying one ream of each color to get started. If you are supplying yourself for a lot of card sorts, you might want to double up on the yellow and white colors.
- 90-lb Springhill Canary Yellow cardstock
- 90-lb Springhill Green cardstock
- 90-lb Springhill Blue cardstock
- 90-lb Springhill White cardstock
Cutting the Cards
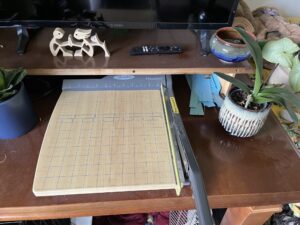
I find that it takes about 1 minute per page to cut cards for a card sort or game. Suppose you have a 30-person class, where the students will work in partners. If the card sort is two pages, you can expect this to take about 30 minutes to cut 15 sets for your class. This might seem like a large investment of time, but you will never have to prep this class again. And you can use the cards in multiple sections. And, this is the best excuse ever to watch your favorite streaming show for 30 minutes while you do the busy work. It is important to have a high quality paper cutter or it will take you a lot more time. I recommend this X-ACTO Heavy Duty Wood Guillotine Trimmer. I have tried to use the plastic models, which are a little less expensive, and I do not recommend them. Everything will take more time without a strong cutting blade and high wooden edges.
Do not plan to cut out card sorts and game pieces with a scissors unless you are only doing one set per topic (like for the Tech & Society Summer Camp). Using a scissors will triple the cutting time.
Armed with a decent paper cutter, you can make the main cuts on a card sort and then stack up several columns of cards and cut them 3-4 at a time, which is more efficient.
Organizing Card Sorts and Games
I’ve been using these kinds of activities for two decades. One of the features of these active learning activities is that you only have to prep them once, and then you can use them over and over, year after year. But you will want to start this process with some kind of system of organization in mind, so that you don’t end up with a bunch of mixed up card sorts.
You need to organize the Cards into partner sets, and then the partner sets into classroom sets.
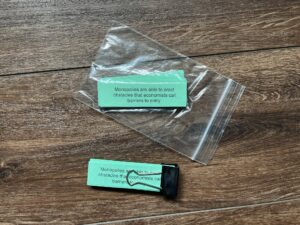
The partner sets can be organized using medium-sized binder clips or small plastic craft bags, like the ones jewelry makers use for beads. Both of these methods work just fine, it’s just personal preference which one you use.
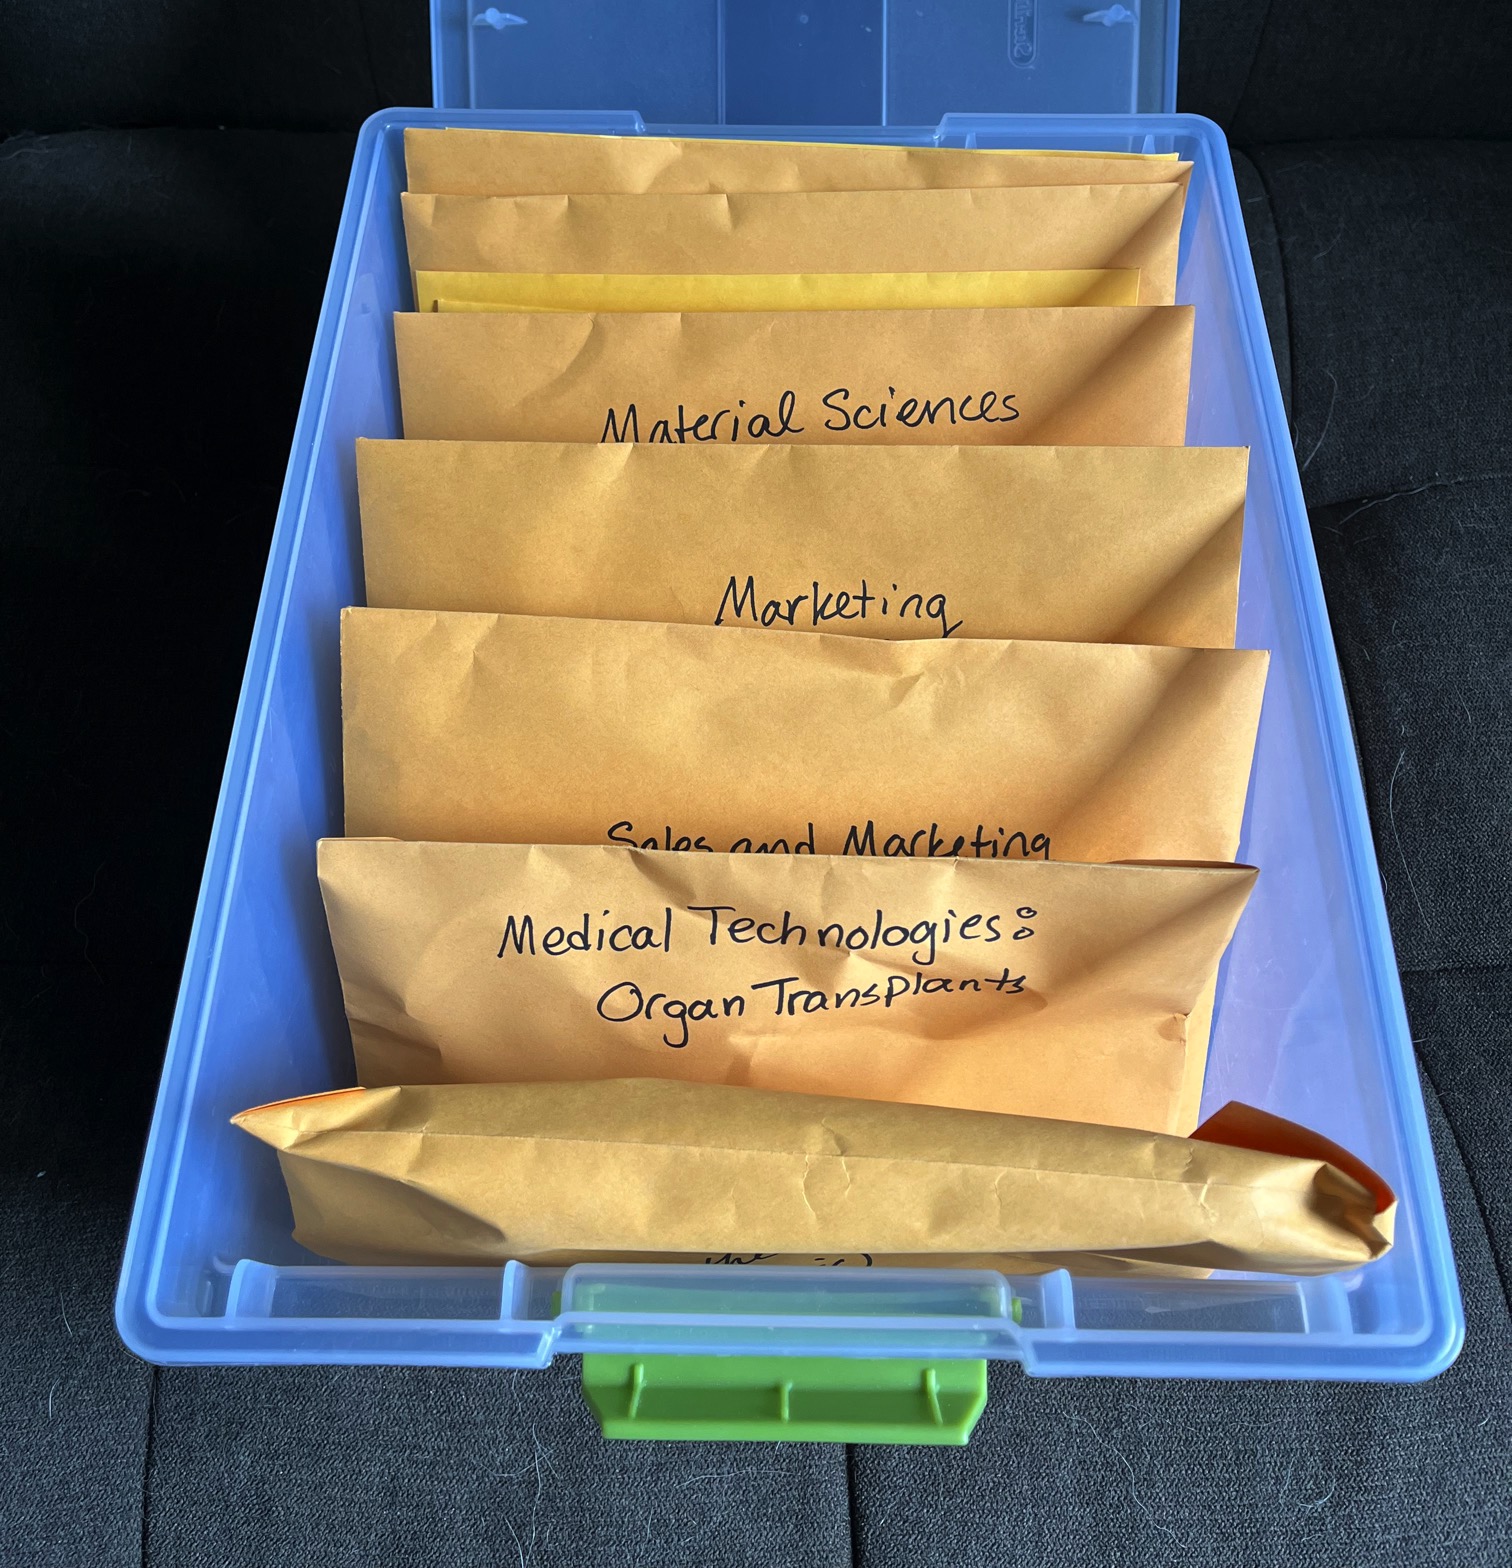
The partner sets need to be organized into classroom sets. My recommendation here is to use manila envelopes with clasps. If you need to store 15 sets, use the regular 9×12 size of manila envelope. If you are only storing seven or eight sets, you can use the 6×9 manila envelopes instead. Whatever you do, make sure to buy the ones with clasps so that you can use them over and over without your materials falling out of the envelope.

Label the outside of the envelope using a Sharpie, and then store them in a file cabinet or plastic bins. Honestly, nobody knows what to do with their file cabinets anymore, so you should be able to find a file cabinet laying around at your school or on Facebook Marketplace for free.

To find a concise list of all the supplies mentioned in this post, in case you want to do a DonorsChoose or order all your supplies at once, you can find the Card Sort List on Amazon here.

Hopefully this post has helped you in organizing card sorts – now you just need the activities! You can find activities in many subjects at my Edge of Learning storefront on Teachers Pay Teachers.